
Description
-
Model List:
- SeedStar 3 HP Monitor For ExactEmerge Planters
- 1. Contents
- 1.1. Identification Views
- 1.1.1. SeedStar 3 Identification Views
- 1.1.2. System Components
- 1.1.3. Recognize Safety Information
- 1.1.4. Understand Signal Words
- 1.1.5. Follow Safety Instructions
- 1.1.6. Replace Safety Signs
- 1.1.7. Prevent Machine Runaway
- 1.1.8. Avoid HighPressure Fluids
- 1.1.9. Prevent Battery Explosions
- 1.1.10. Welding Near Electronic Control Units
- 1.1.11. Keep Electronic Control Unit Connectors Clean
- 1.1.12. Read Operators Manuals for ISOBUS Controllers
- 1.2. Safety Signs
- 1.2.1. Safety Signs
- 1.3. How to Use Monitor
- 1.3.1. Use with GreenStar Monitors
- 1.3.2. Monitor Controls
- 1.3.3. Monitor Power Up and Power Down
- 1.3.4. Standard Buttons
- 1.3.5. Input Entry Methods
- 1.3.6. Screen Layout Manager
- 1.3.7. Screen Navigation
- 1.4. Monitor Settings
- 1.4.1. Configure Brightness, Volume, and Color
- 1.4.2. Configure Language and Units of Measure
- 1.4.3. Configure Date and Time
- 1.4.4. Touchscreen Calibration
- 1.5. Performance Monitor
- 1.5.1. Check Implement Width in Performance Monitor
- 1.5.2. Radar Configuration
- 1.5.3. Radar Calibration
- 1.6. Quick Reference
- 1.6.1. Quick Reference Setup
- 1.7. SeedStar 3 Setup Initial System Configuration
- 1.7.1. SeedStar 3 System Overview
- 1.7.2. System Components
- 1.7.3. Configure Frame Configuration
- 1.7.4. Section Control Timing
- 1.7.5. Seed Sensors Setup
- 1.7.6. Vacuum Sensor Configuration
- 1.7.7. Zero Vacuum Sensor
- 1.7.8. Pneumatic Down ForceAir Pressure Sensor
- 1.7.9. Liquid Fertilizer Sensors
- 1.7.10. Calibrate Common Start and Stop Height
- 1.7.11. Calibrate Separate Start and Stop Height
- 1.7.12. Ground Speed Source
- 1.7.13. Setup Curve Compensation
- 1.7.14. Alarms And Limits Defaults
- 1.7.15. Configure Mapping Groups
- 1.8. SeedStar 3 Setup
- 1.8.1. SeedStar Monitoring System Overview
- 1.8.2. RowCommand Overview
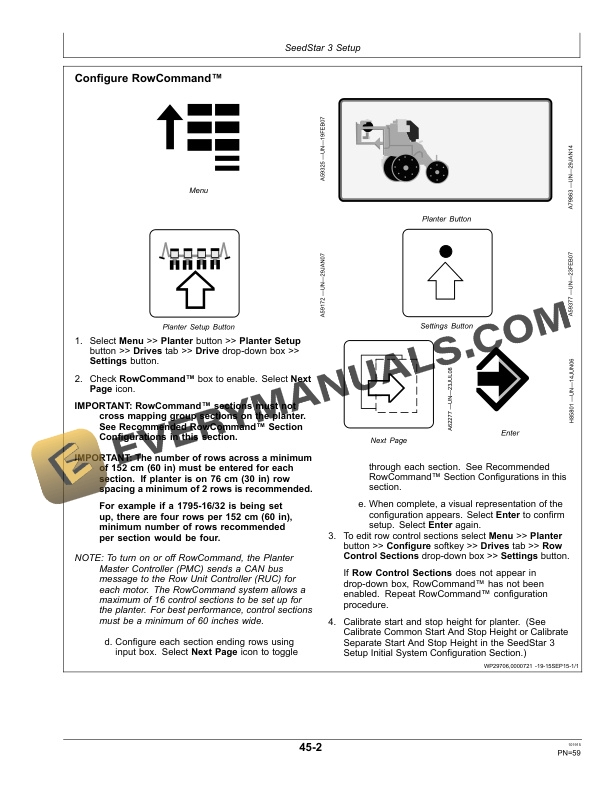
- 1.8.3. Configure RowCommand
- 1.8.4. Recommended RowCommand Section Configurations
- 1.8.5. Ride Dynamics Sensor Configuration
- 1.8.6. Pneumatic Down ForceAir Pressure Sensor
- 1.8.7. Down Force Sensor Configuration
- 1.8.8. Alarms and Limits Setup Page
- 1.8.9. Quick Setup Settings
- 1.8.10. Adjust Motion Sensor Gap
- 1.8.11. Adjust Parallel Arm Height Switch
- 1.9. Setup Seed Rates
- 1.9.1. Single Rate ConfigurationMeter, Crop, Disk, and Rates
- 1.9.2. By Mapping Group Rate ConfigurationMeter, Crop, Disk, and Rates
- 1.9.3. Custom Rate ConfigurationMeter, Crop, Disk, and Rates
- 1.10. Operating Machine
- 1.10.1. SeedStar 3 Overview
- 1.10.2. Quick Start Overview
- 1.10.3. Manual Set Fast Start Overview
- 1.10.4. Fast Start On Planter Down Overview
- 1.10.5. Hydraulic Power Generation System
- 1.10.6. Tractor Power Generation System
- 1.10.7. Curve Compensation Operation
- 1.11. SeedStar Main Run Screens
- 1.11.1. SeedStar 3 Navigation Tabs And Buttons
- 1.11.2. Seed Population
- 1.11.3. Seed Singulation
- 1.11.4. Seed Spacing Coefficient of Variation
- 1.11.5. Down Force
- 1.11.6. Ride Dynamics
- 1.11.7. Ground Contact
- 1.11.8. RowCommand
- 1.11.9. Row Details
- 1.11.10. Half Screen Layout
- 1.12. Pneumatic Down Force Operation
- 1.12.1. Service Machine Safely
- 1.12.2. Down Force Operation
- 1.12.3. Pneumatic Down Force
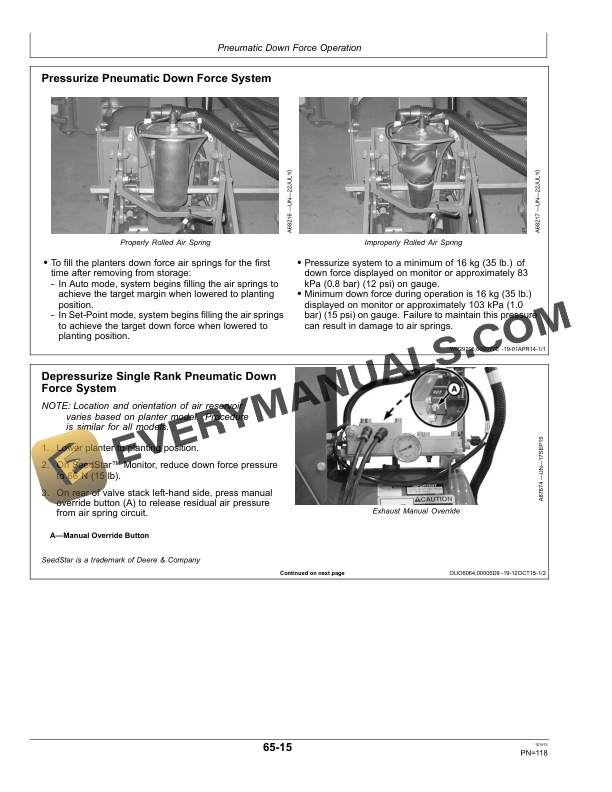
- 1.12.4. Pressurize Pneumatic Down Force System
- 1.12.5. Depressurize Single Rank Pneumatic Down Force System
- 1.12.6. Depressurize Two Rank Pneumatic Down Force System
- 1.12.7. Relieve Rear Rank Pneumatic Down Force When Locking Up Rear Rows
- 1.12.8. Check Hydraulic Air Compressor Oil
- 1.12.9. Fill or Change Hydraulic Air Compressor Oil
- 1.12.10. Drain Air Storage Tank
- 1.13. Row Cleaner Control
- 1.13.1. Row Cleaner Setup
- 1.13.2. Row Cleaner Operation
- 1.14. Vacuum Automation Control
- 1.14.1. Vacuum Automation Control
- 1.15. Rotate And Runoff Procedures
- 1.15.1. Rotate Seed Meters Overview
- 1.15.2. Runoff Display at Rear of Planter
- 1.15.3. Meter Runoff
- 1.15.4. Row Runoff
- 1.15.5. Planter Runoff
- 1.15.6. BrushBelt Runoff Only
- 1.16. Counters
- 1.16.1. Area Counters, Seeds Per Hour, Seeds Per Area, and Area Until Empty
- 1.17. SeedStar Diagnostics
- 1.17.1. Systems Data
- 1.17.2. Controller Hardware, Software, and Part Number Identification
- 1.17.3. Display Hardware, Software, and Part Number Identification
- 1.17.4. Row Unit Controller Hardware and Software Diagnostic
- 1.17.5. Row Unit Controller Addressing
- 1.17.6. System Voltages
- 1.17.7. Vacuum Sensor
- 1.17.8. Seed Sensor Reading
- 1.17.9. Gauge Wheel Down Force Diagnostics
- 1.17.10. Pneumatic Down Force System
- 1.17.11. Machine Speeds Diagnostics
- 1.17.12. Liquid Fertilizer Sensor
- 1.17.13. Air Compressor System
- 1.17.14. Row Unit Speed
- 1.17.15. Planter Yaw Diagnostics
- 1.18. Service Advisor Remote
- 1.18.1. Service Advisor Remote Operation
- 1.19. Troubleshooting
- 1.19.1. SeedStar Troubleshooting
- 1.19.2. Troubleshoot GreenStar Display
- 1.19.3. Troubleshoot SeedStar
- 1.19.4. Troubleshoot Single SetPoint Pneumatic Down Force System
- 1.19.5. Troubleshoot Dual SetPoint and Active Pneumatic Down Force System
- 1.20. Storage
- 1.20.1. Beginning of the Season Service
- 1.20.2. Liquid Fertilizer Sensor (If Equipped)
- 1.20.3. Vacuum Sensor
- 1.20.4. Pneumatic Down Force Air Spring Storage Procedures
- 1.21. Specifications
- 1.21.1. Record Serial Numbers
- 2. Page Number
- 2.1. Section 05
- 2.2. Section 10
- 2.3. Section 15
- 2.4. Section 20
- 2.5. Section 25
- 2.6. Section 30
- 2.7. Section 35
- 2.8. Section 40
- 2.9. Section 45
- 2.10. Section 50
- 2.11. Section 55
- 2.12. Section 60
- 2.13. Section 65
- 2.14. Section 70
- 2.15. Section 75
- 2.16. Section 80
- 2.17. Section 85
- 2.18. Section 90
- 2.19. Section 95
- 2.20. Section 100
- 2.21. Section 105
- 2.22. Section 110