
Description
-
Model List:
- RR4002 Rigid Ridger
- RR4003 Rigid Ridger
- RR4004 Rigid Ridger
- RR4005 Rigid Ridger
- RR4006 Rigid Ridger
- RR4007 Rigid Ridger
- 1. Contents
- 1.1. Install Top Mast Assembly
- 1.1.1. Top Mast Assembly of Rigid Ridger
- 1.1.2. Recognize Safety Information
- 1.1.3. Understand Signal Words
- 1.1.4. Follow Safety Instructions
- 1.1.5. Keep Riders Off Machine
- 1.1.6. Avoid Rollover Accidents
- 1.1.7. Prepare for Emergencies
- 1.1.8. Wear Protective Clothing
- 1.1.9. Use Safety Lights and Devices
- 1.1.10. Service Machine Safely
- 1.1.11. Practice Safe Maintenance
- 1.1.12. Remove Paint Before Welding or Heating
- 1.1.13. Store Attachments Safely
- 1.2. Safety Signs and Locations
- 1.2.1. Safety Sign Locations of RR4002 Rigid Ridger
- 1.2.2. Safety Sign Locations of RR4005 Rigid Ridger
- 1.2.3. Decal ARead Operators Manual
- 1.2.4. Decal BShut Off Engine, Remove Keys
- 1.2.5. Decal CStay away from Raised Implement (Feet/Toe Crush or Smash)
- 1.2.6. Decal DHand Pinching Hazard
- 1.3. Preparing the Tractor
- 1.3.1. Use Tractor Operators Manual
- 1.3.2. Tractor Requirement
- 1.3.3. Front Counterweight
- 1.3.4. Rear Wheel Counterweight
- 1.3.5. Determine Front End Ballast Without Implement Codes
- 1.3.6. Check Tire Inflation Pressure
- 1.3.7. Lift Rods
- 1.3.8. Top Link
- 1.3.9. Sway Chains
- 1.3.10. Prepare Hitch
- 1.3.11. Tighten Fasteners
- 1.3.12. Adjust Top Link
- 1.3.13. Adjust Lift Links
- 1.3.14. Adjust Vertical Float
- 1.3.15. Rockshaft Control Levers
- 1.3.16. Set Position Control Lever Stop
- 1.3.17. Use Rockshaft Position Control
- 1.3.18. Use Draft Control
- 1.3.19. Position Center Link
- 1.4. Preparing the Rigid Ridger
- 1.4.1. Tighten Hardware
- 1.5. Attaching and Detaching the Rigid Ridger
- 1.5.1. Attach Rigid Ridger to Tractor
- 1.5.2. Detaching Rigid Ridger from Tractor
- 1.6. Adjustments
- 1.6.1. Plate Adjustments
- 1.6.2. Replacement of Tine having no SupportRR4002
- 1.6.3. Replacement of Tine having no SupportRR4005
- 1.6.4. Replacement of Tine having Support
- 1.6.5. Shovel Replacement
- 1.7. Operating the Rigid Ridger
- 1.7.1. Start Operation
- 1.7.2. Field Operation of the Rigid Ridger
- 1.7.3. Park Rigid Ridger
- 1.7.4. Keep Machines Secure
- 1.8. Transporting
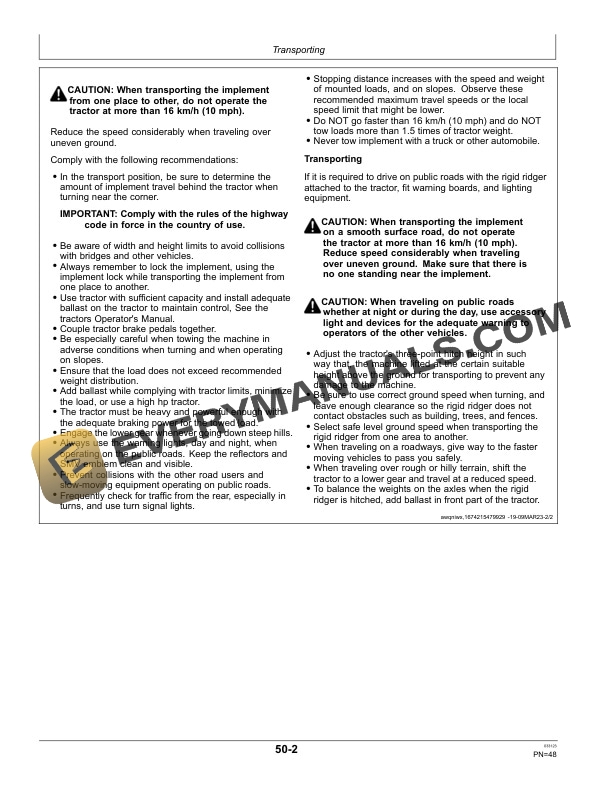
- 1.8.1. Transport Safely
- 1.9. Lubrication and Maintenance
- 1.9.1. Lubricate and Maintain the Machine Safely
- 1.9.2. Lubrication of the Rigid Ridger
- 1.9.3. Maintenance Schedule of Rigid Ridger
- 1.9.4. Lubrication and MaintenanceDaily or Every 8 hours
- 1.9.5. Lubrication and MaintenanceWeekly or Every 50 hours Work
- 1.10. Storage
- 1.10.1. End of Season Storage
- 1.10.2. Start of Season Preparation
- 1.10.3. Scrapping
- 1.11. Troubleshooting
- 1.11.1. Rigid Ridger
- 1.12. Specifications
- 1.12.1. Specifications of Rigid Ridger
- 1.12.2. Serial Number
- 1.12.3. Metric Bolt and Screw Torque Values
- 1.12.4. Unified Inch Bolt and Screw Torque Values
- 1.12.5. Keep Machines Secure
- 1.13. Inspection Checklists
- 1.13.1. PreDelivery Inspection
- 1.13.2. Owners Record
- 1.13.3. Delivery Inspection
- 1.13.4. Inspection Before Each Day of Operation
- 1.13.5. Inspection Before Each Season
- 1.14. Limited Warranty Statement
- 1.14.1. General provision
- 1.14.2. Authorised Dealers
- 1.14.3. Preconditions to Avail Warranty and Documentation Requirement
- 1.14.4. User Responsibility
- 1.14.5. Warranty Term and Equipment Covered Under This Warranty
- 1.14.6. What is Not Warranted
- 1.14.7. JDIPLs liability under this Warranty
- 1.14.8. No implied Warranty, representation or condition
- 1.14.9. Dealer Warranty
- 1.14.10. Contact Information
- 1.14.11. Jurisdiction
- 1.14.12. CUSTOMER COPY
- 1.14.13. DEALER COPY
- 1.15. Implement Identification and Installation Certificate
- 1.15.1. INSTALLATION CERTIFICATE
- 1.15.2. CUSTOMER COPY
- 1.15.3. INSTALLATION CERTIFICATE
- 1.15.4. DEALER COPY
- 2. Page Number
- 2.1. Section 12
- 2.2. Section 15
- 2.3. Section 20
- 2.4. Section 25
- 2.5. Section 30
- 2.6. Section 35
- 2.7. Section 40
- 2.8. Section 45
- 2.9. Section 50
- 2.10. Section 55
- 2.11. Section 60
- 2.12. Section 65
- 2.13. Section 70
- 2.14. Section 75
- 2.15. Section 80
- 2.16. Section 85